Enable Nostr Zaps
A quick guide on how to receive zaps on Nostr.
Prerequisites
Before starting, make sure you have:
- Completed the ripsline installer on your Virtual Private Server (Virtual Private Node)
- Set up admin login and your first store on BTCPay
- Configured your Lightning Node from BTCPay dashboard
- Bitcoin blockchain fully synced (green Lightning indicator in BTCPay)
Get Started
Step 1: Install Nostr Plugin via BTCPay Admin Panel
- Navigate to Plugins → Manage Plugins on the left-hand navigation panel of BTCPay
- Search for Nostr by Kukks
- Select Install
 Install Nostr Plugin
Step 2: Restart BTCPayServer
- You need to restart BTCPay Server in order to update your active plugins. Select Restart Now
- Wait a moment and then refresh the page
- Ignore this message: Maintenance feature requires access to SSH properly configured in BTCPay Server configuration.
- The Nostr plugin just needs to be installed, leave everything blank.
 Restart BTCPayServer
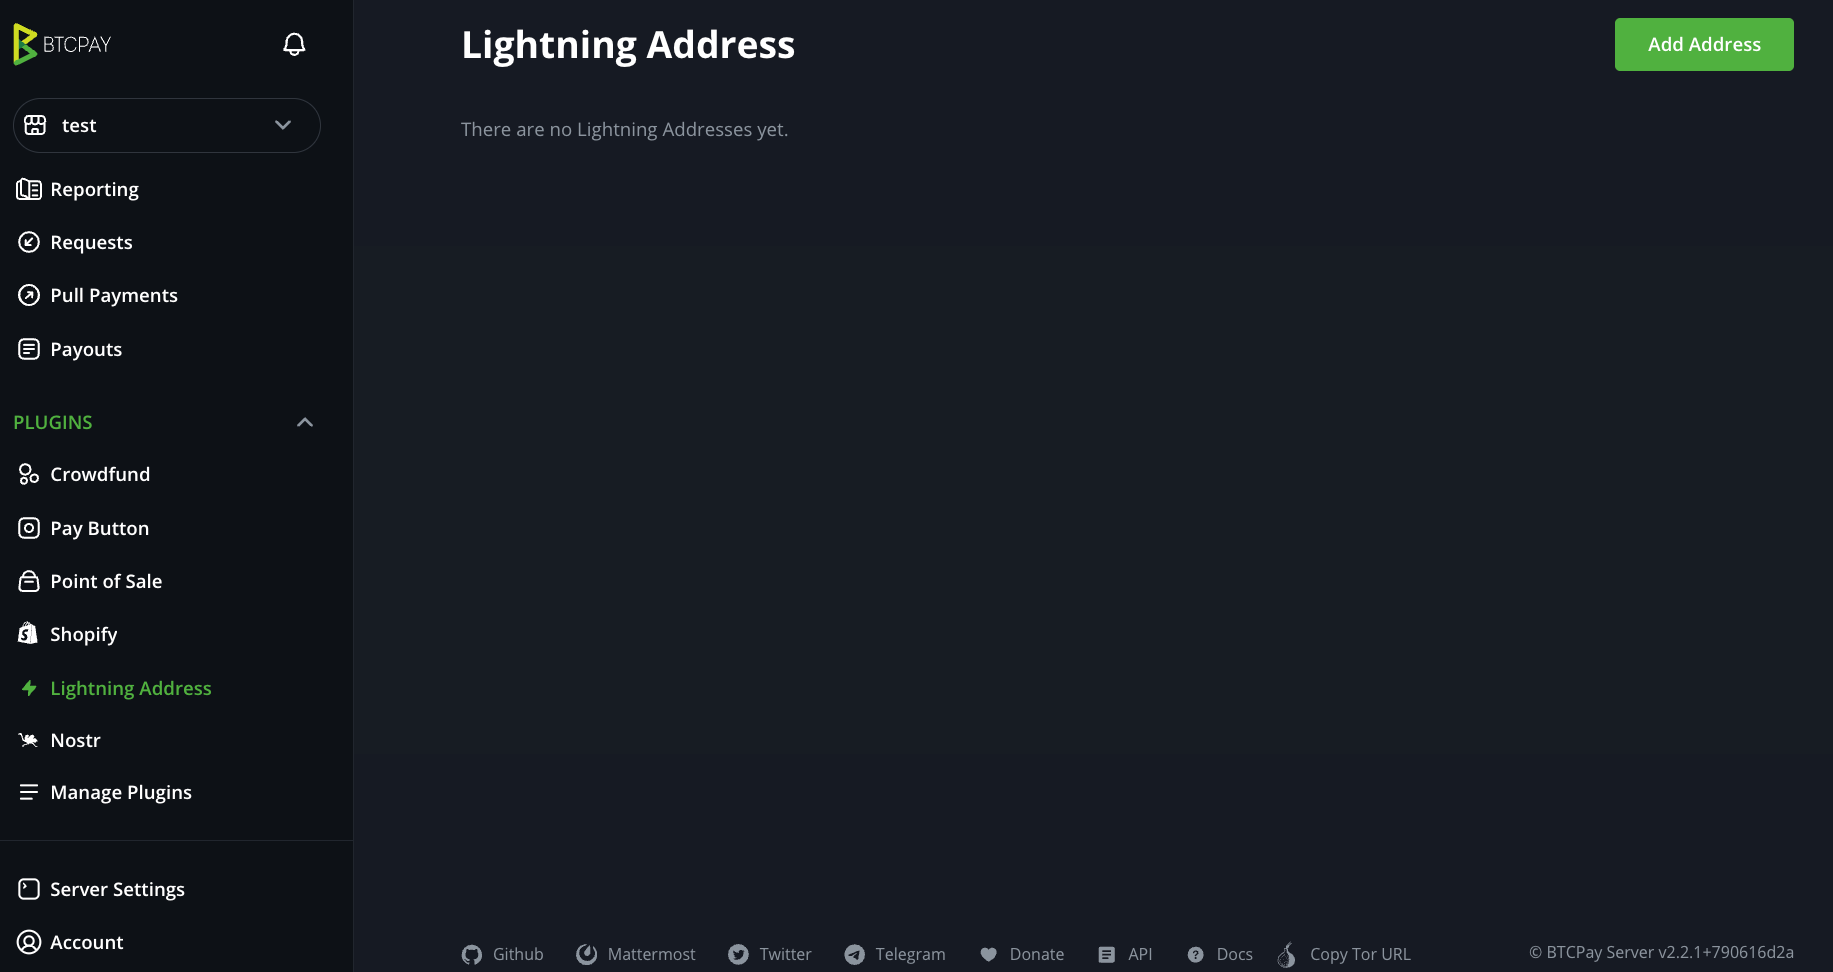
Step 3: Add Lightning Address
- Navigate to Plugins → Lightning Address on the left-hand navigation panel of BTCPay
- Select Add Address top right of the page
- In the username field add any prefix you would like. For example, zap@yourdomain.com
- Select Save
- Add this address to your preferred Nostr client
 Add Lightning Address
Success!
You can now receive zaps on Nostr using your custom Lightning Address.
⚠️ Important:
If you have private channels, make sure to select "Add hop hints for private channels to the Lightning invoice" when you Configure BTCPay Lightning Node